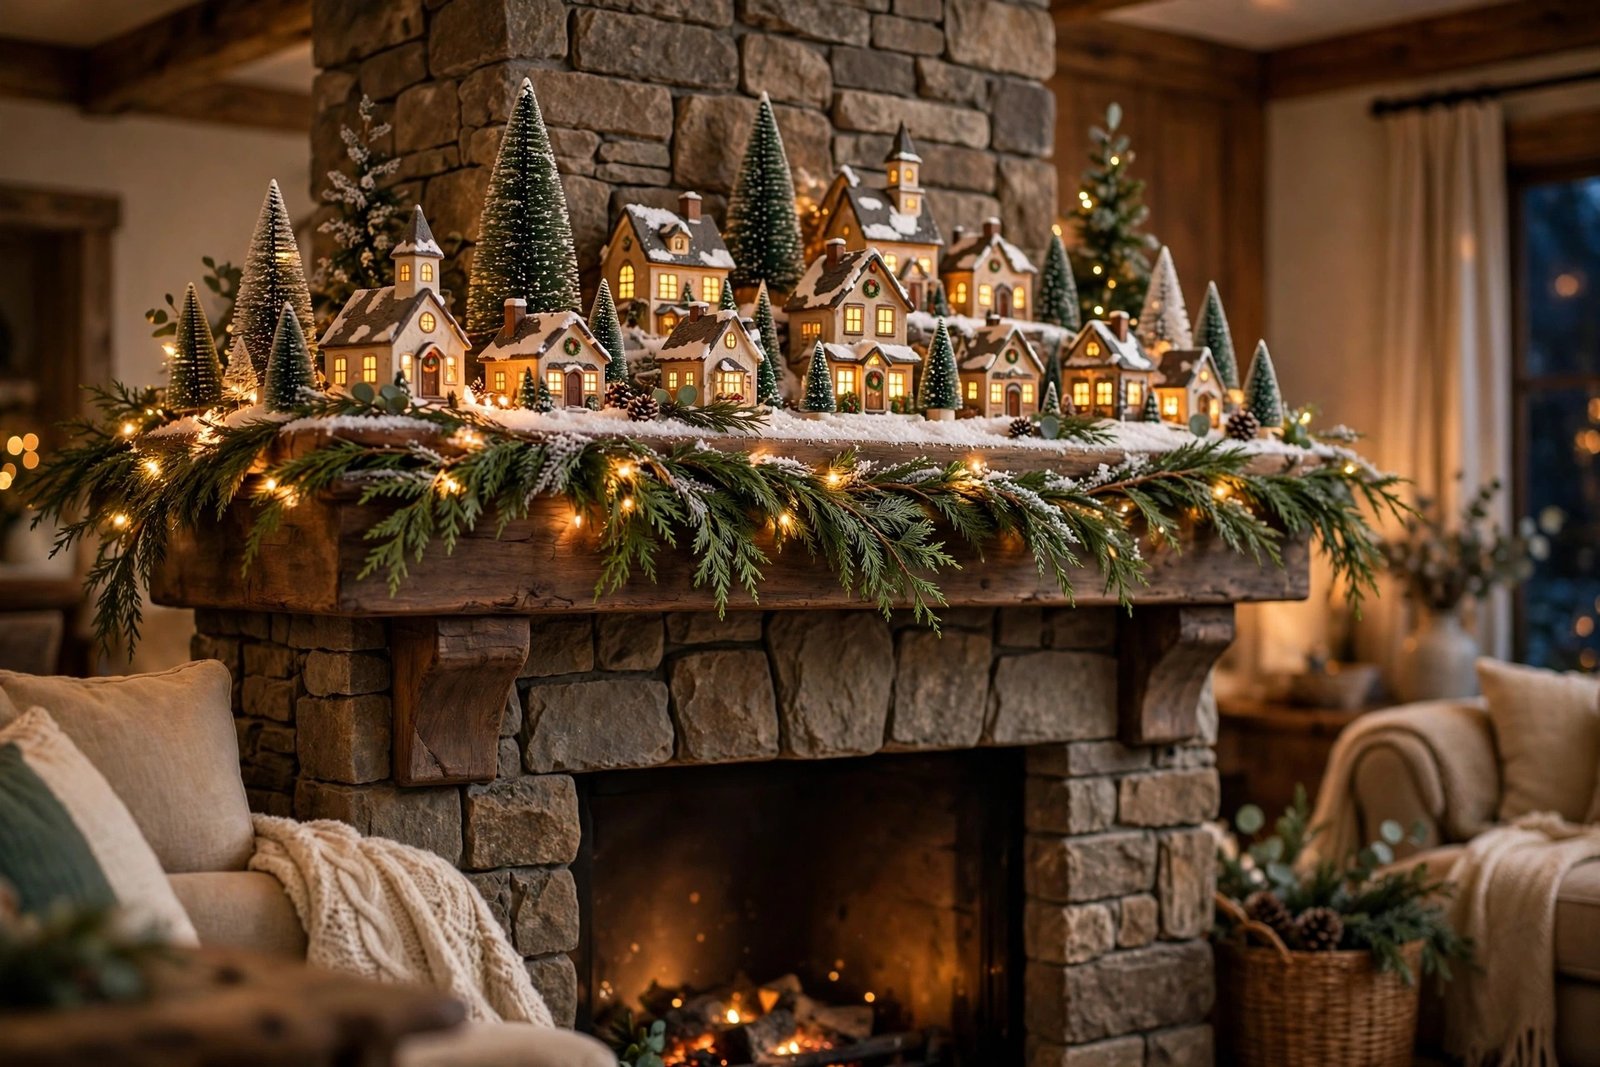
There is something quietly magical about a Christmas village display — those tiny glowing houses, the bottle-brush trees dusted with faux snow, the little windows lit from within. Whether your village spans the whole mantel or fits in a single tray on the coffee table, it has a way of making the whole room feel like a storybook, and the best part is how personal it becomes year after year as you add pieces that mean something to your family.
The secret to a great village is not owning hundreds of houses; it is in the styling. A soft base of faux snow, layers of garland, warm fairy lights tucked under the blanket of snow, and a few well-placed trees can make even a handful of houses look like an entire cozy town. Below are 22 ideas to help you build, refresh, or completely reimagine your Christmas village decor this year — from grand mantel scenes to tiny tiered-tray towns.
The Ideas
1. Build Your Village on a Snowy Mantel. Drape a thick faux-snow blanket across the mantel first, letting it puddle over the edges for a soft, drifted look. Place your tallest houses at the back and let the glowing windows do the heavy lifting — then tuck bottle-brush trees of mixed heights between them so nothing sits in a straight line.
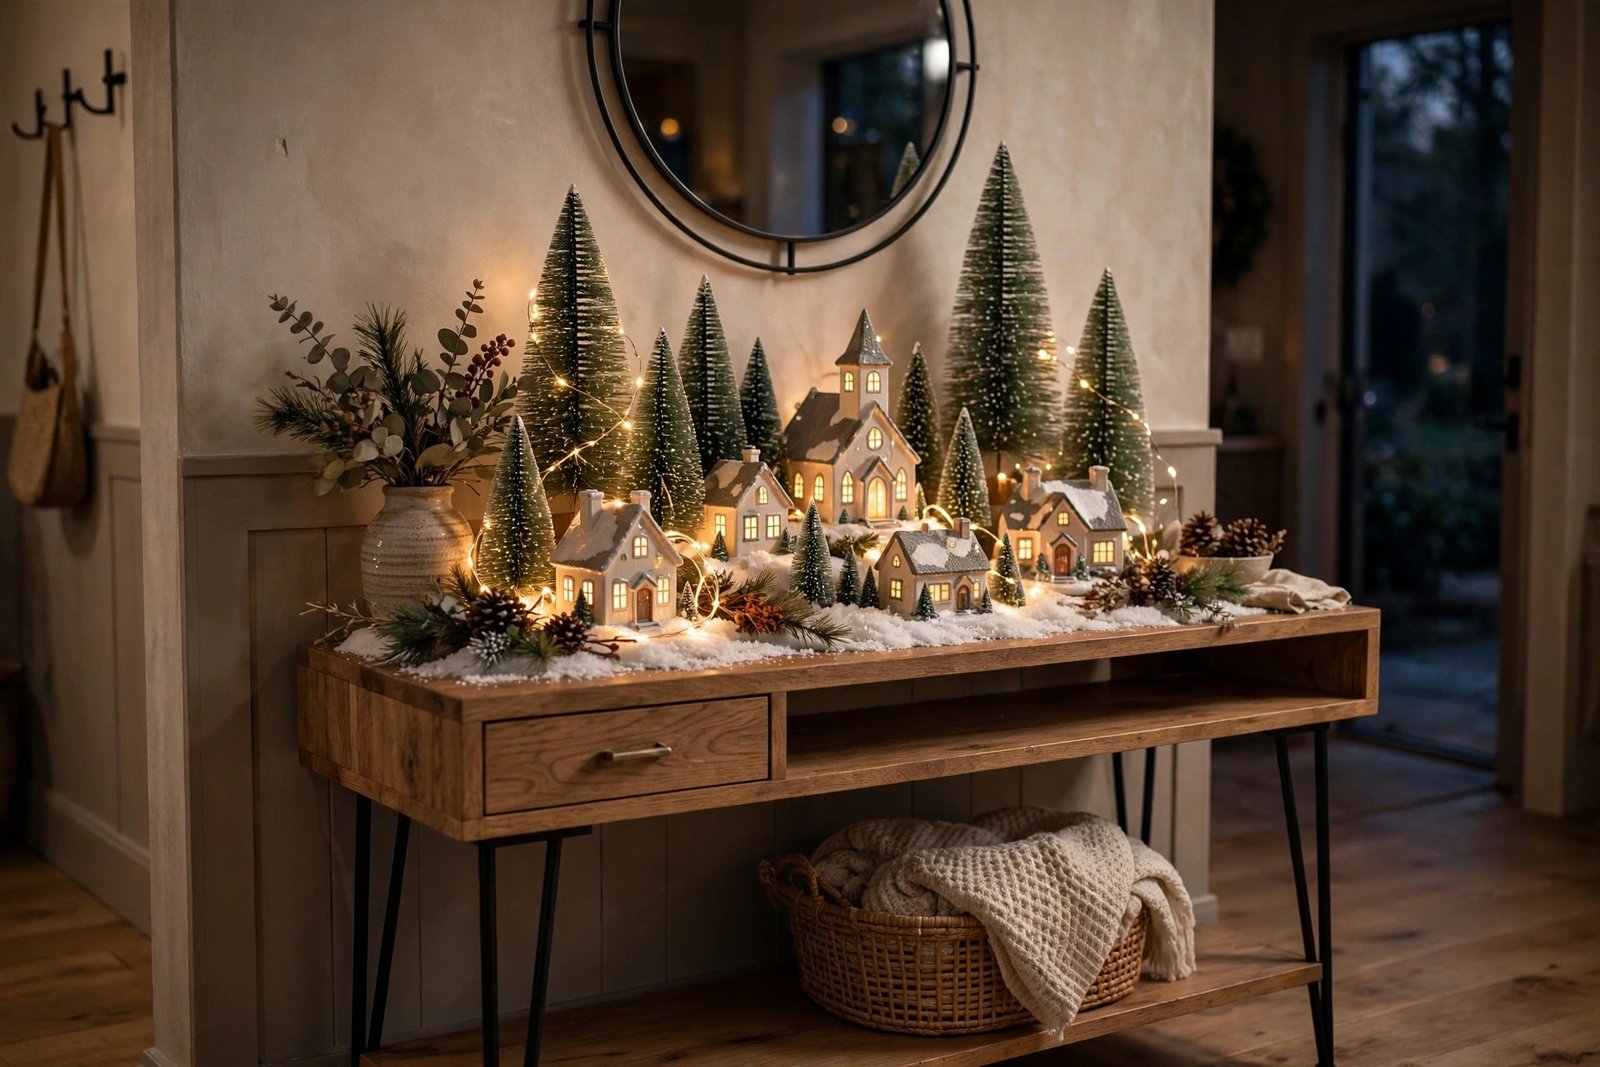
2. Tuck Fairy Lights Under the Snow. String a battery-operated warm-white fairy light strand directly on the mantel or shelf before you lay the snow blanket down. The light diffuses softly through the white fabric, giving your whole village a moonlit underglow without any visible wires or cords.
3. Layer a Garland Base for Texture. Run a full pine garland along the back of your display before placing a single house. The greenery fills awkward gaps, hides the backs of buildings, and makes the scene feel like it is nestled in a real forest edge rather than floating on a bare surface.
4. Mix Ceramic and Wooden Houses. Combine glazed ceramic houses with plain wooden or German-style Glitterhäuser in the same display. The mix of finishes — shiny, matte, and kraft — reads as a charming, timeworn town instead of a single matching set.
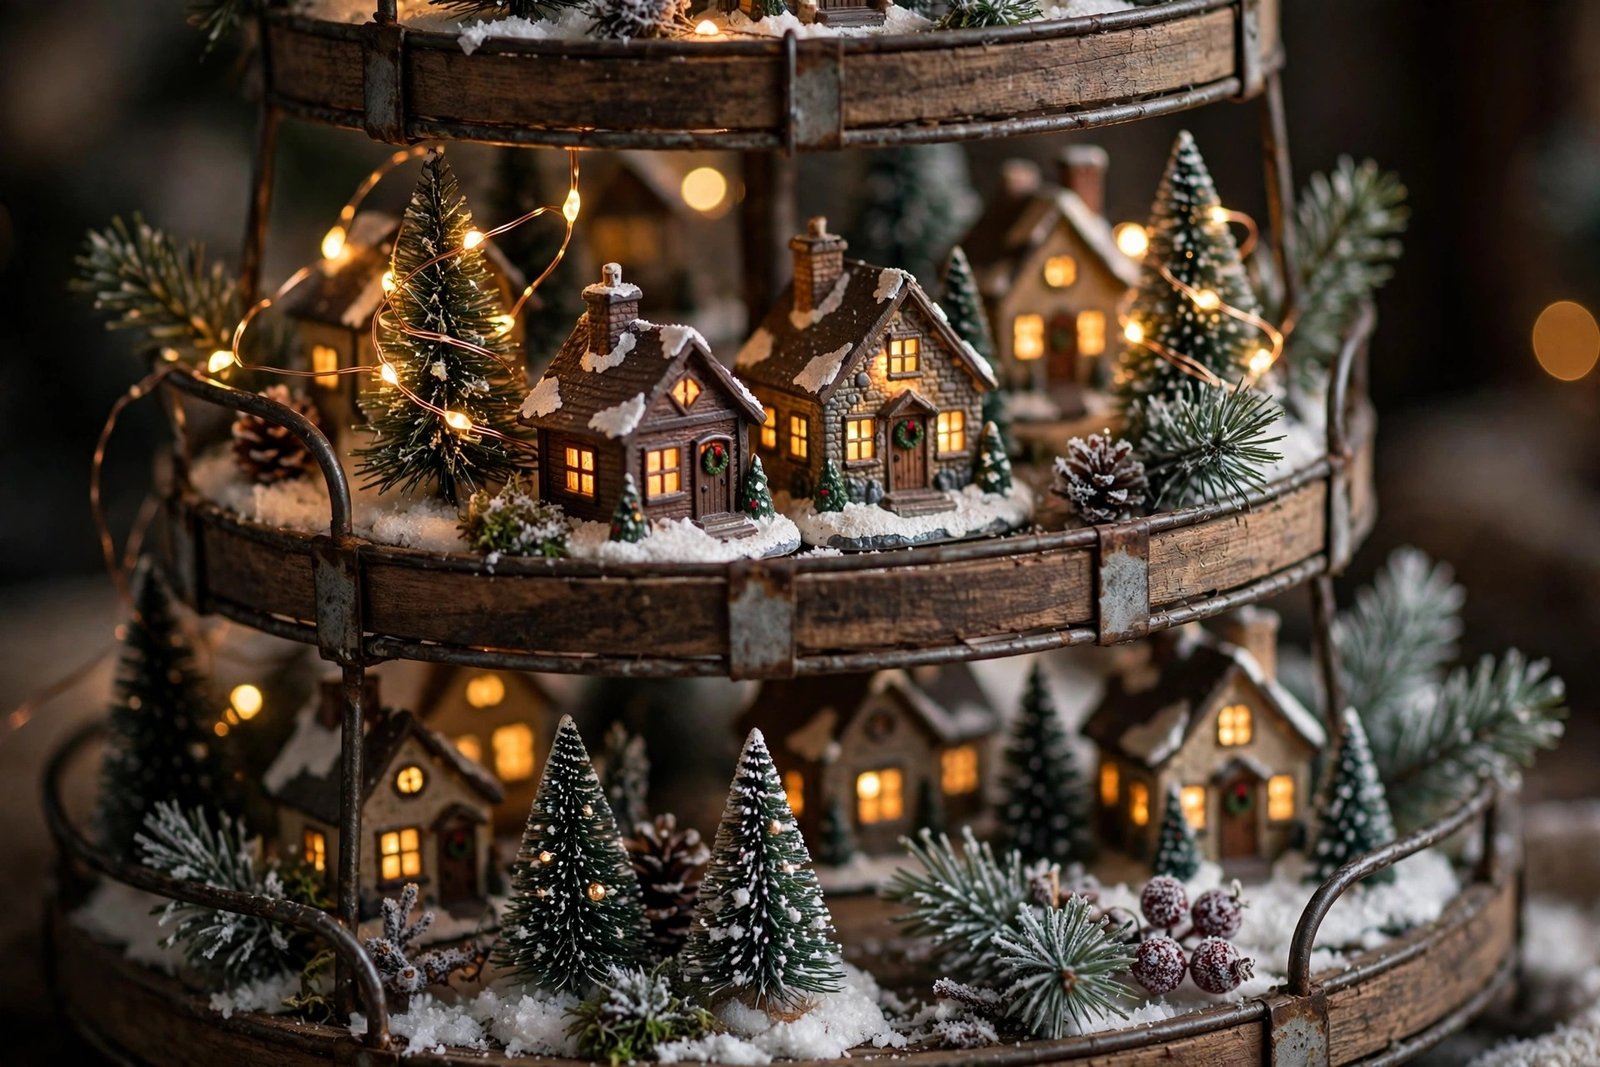
5. Create a Tiered-Tray Mini Village. Build a pocket-sized town on a two-tiered tray for the kitchen counter or entry table. Line each tier with quilt batting, add two or three mini houses, a string of micro fairy lights, and a handful of bottle-brush trees — instant holiday charm in about ten minutes.
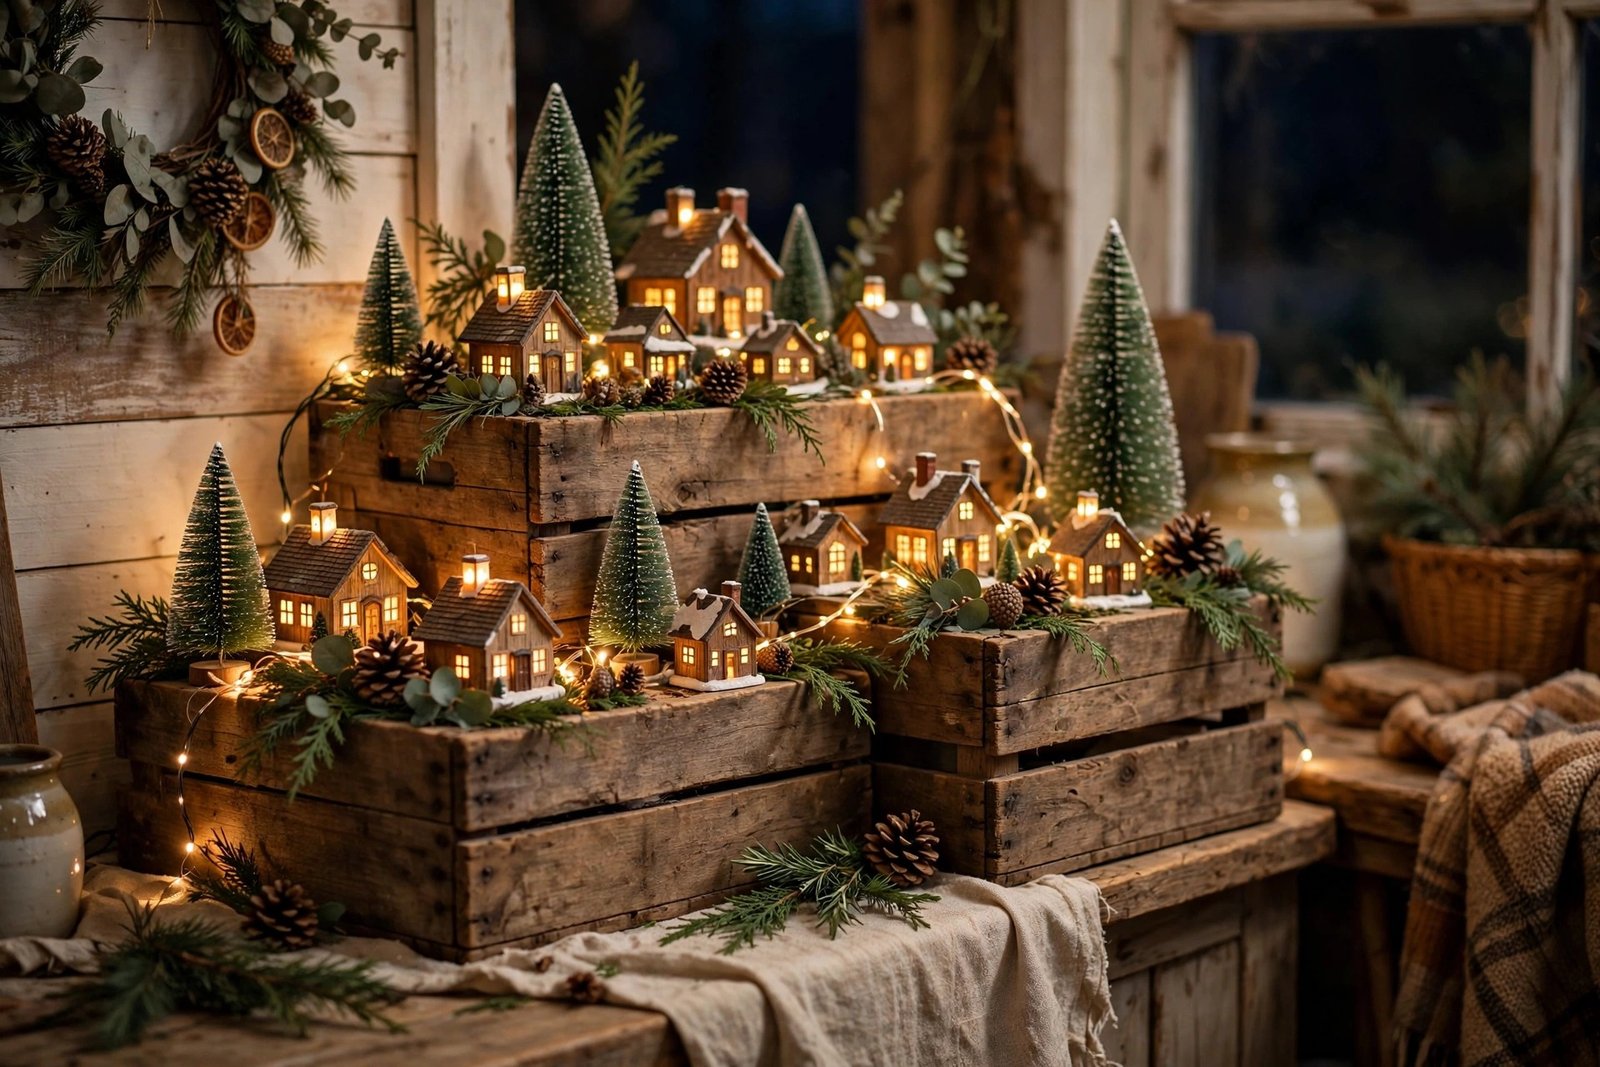
6. Add a Farmhouse Crate for Rustic Charm. Set your village inside a wooden crate or vintage box for that old-world, harvested-from-the-attic feel. The crate gives you natural depth on all four sides, and the rough wood pairs beautifully with warm candlelight-style glows from inside the houses.
7. Use Cake Stands for Height and Drama. Elevate a small cluster of houses on a cake stand, an overturned bowl, or a stack of coffee-table books hidden under the snow. Varying the elevation across the scene is what makes a village look like a real town built on hills instead of a flat row.
8. Line a Console Table Into a Whole Street. Stretch a long runner of snow and garland down a console or sideboard and line up your houses like a full main street. Add a lamppost or two, a tiny vintage truck, and bottle-brush trees between the buildings for a scene guests will stop and stare at.
9. Style an Old-World German Corner. Lean into classic Erzgebirge styling: natural-wood houses with glitter roofs, red-and-white bottle-brush trees, a wooden pyramid, and candle arch (Schwibbogen) as the backdrop. Keep the palette to wood tones, red, and gold for a display that looks straight out of a Bavarian Christmas market.
10. Let Glowing Windows Be the Star. If your houses have window cutouts, place a small LED tea light or micro fairy light inside every single one. A village with lit windows at dusk is ten times cozier than one without — it is the single highest-impact step you can take.
11. Frame the Scene with Stockings. Hang your stockings along the front of the mantel as usual, but style the village behind and above them. The garland that ties it all together should sit at the back of the village so the whole display reads as one connected scene.
12. Add a Mirror Lake Effect. Lay a small oval mirror or a piece of mirrored tray in front of your village as a frozen pond. The reflections double the glow of the lights and give the scene a lovely sense of place — like the town sits beside a still winter lake.
13. Scatter Vintage-Style Figurines. A few ice skaters, carolers, or a horse-drawn sleigh scattered through the village add life and scale. Place them on small snowy mounds or along your garland path so they look like they belong there, not just dropped in.
14. Build a Village Inside a Cloche. For a single special house, place it under a large glass cloche with a little snow and one bottle-brush tree. The glass magnifies the glow and turns one piece into a glowing, jewel-like centerpiece for a side table or bookshelf.
15. Go Minimal with an All-White Village. Choose only white, cream, and silver houses and trees for a serene, Scandinavian-style village. The monochrome palette looks stunning against a dark green garland base and lets the warm interior lights become the only color in the scene.
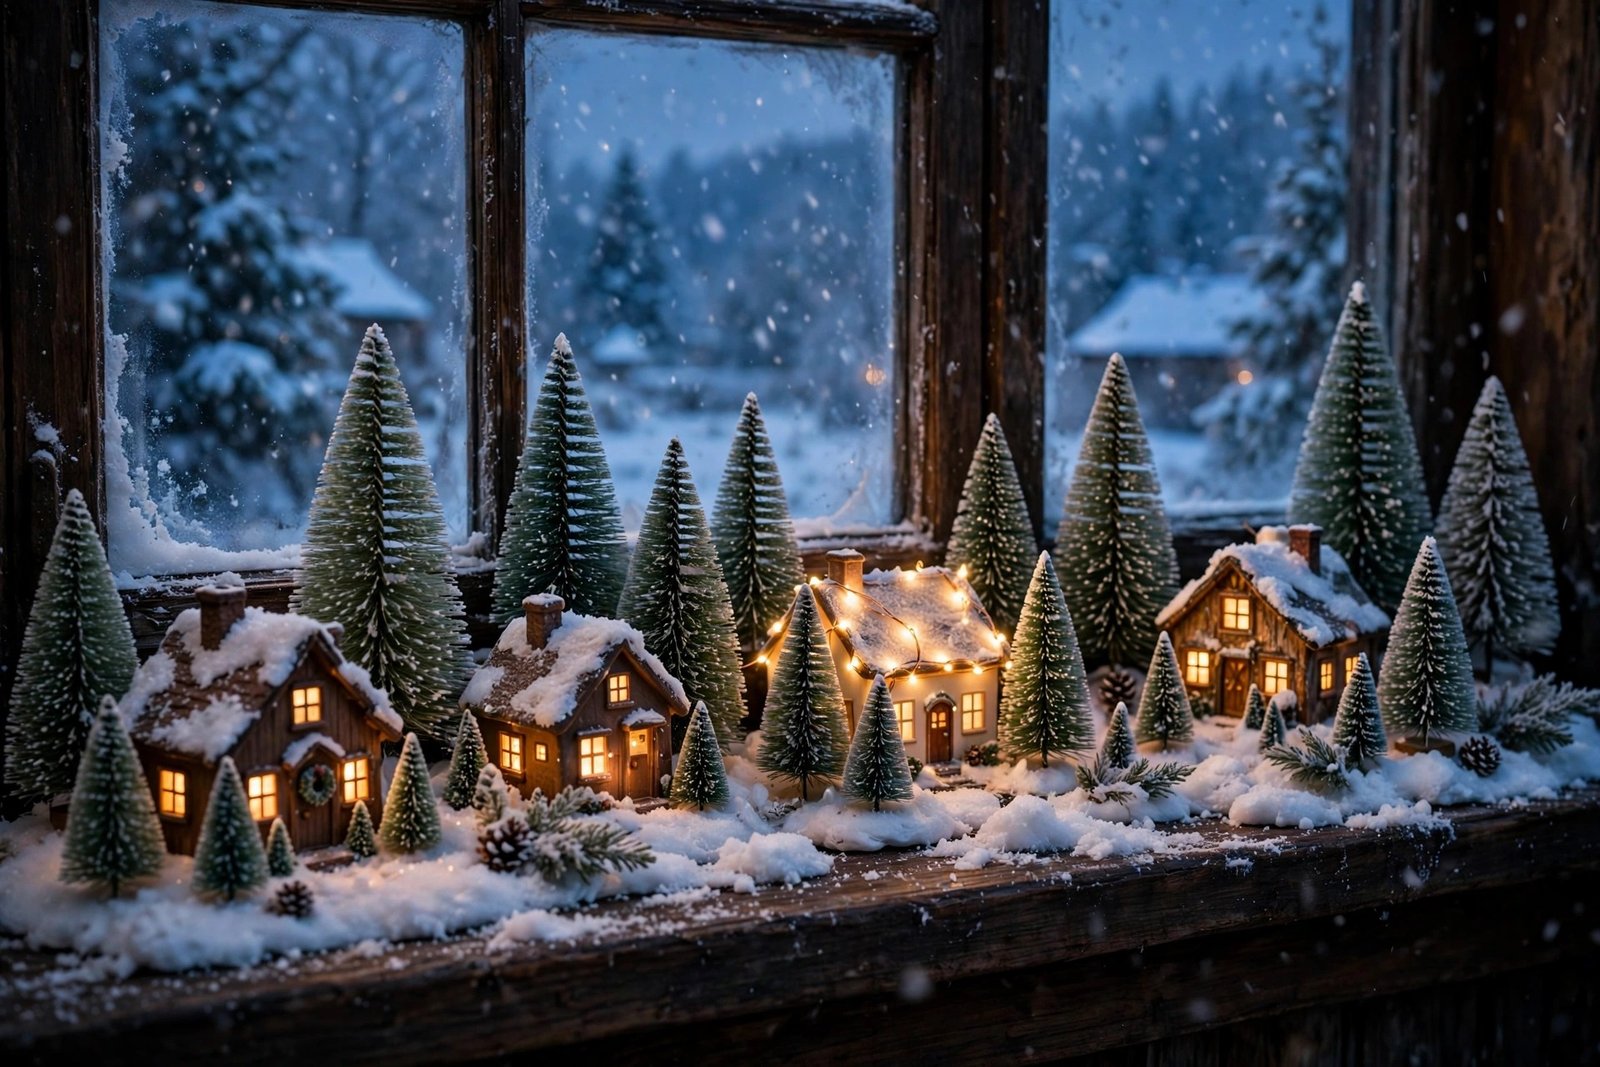
16. Create a Window-Sill Wonderland. Line a deep window sill with snow, houses, and trees so your village is backlit by the real evening sky. From outside, the glowing houses turn your window into a living Christmas card for the whole street to enjoy.
17. Repurpose a Tiered Bookshelf. Dedicate one shelf of a bookshelf or bar cart to the village, stacking houses, trees, and lights across two or three levels. Styling vertically makes a small collection feel abundant and keeps the display contained in one cozy spot.
18. Hide the Cords with Burlap Paths. Cut strips of burlap or linen to look like village paths and roads, and run them right over battery packs and wire bundles. The paths guide the eye through the scene and make the whole display look intentional and finished.
19. Add a Ski-Lift or Train for Motion. A small working train looping behind the village, or even a simple paper ski-lift strung across two trees, adds a sense of motion that delights kids and adults alike. Keep the mechanism hidden behind the back row of houses.
20. Keep a Cohesive Color Story. Pick two or three colors — classic red and green, icy blue and silver, or warm gold and cream — and repeat them in trees, garland picks, and tiny accessories. A restrained palette is what separates a curated village from a cluttered one.
21. Style a Village on the Dining Table. Run a long, low village down the center of the dining table as your holiday centerpiece. Keep heights below eye level so guests can see each other across it, and the candlelight-meets-fairy-light combo will make every dinner feel festive.
22. Refresh with Faux Snow Each Year. Replace your snow blanket or fluff up your batting every season and rotate a few pieces in and out. A fresh white base and one new house or tree per year keep the village feeling new without requiring a full rebuild.
Quick Tips Recap
- Always light the windows — lit houses look ten times cozier than dark ones, especially at dusk.
- Start with a base layer of snow, then garland, then houses, then trees and figurines, in that order.
- Vary heights across the scene with books, bowls, and cake stands hidden under the snow.
- Stick to a two- or three-color palette so the display looks curated, not cluttered.
- Use battery-operated fairy lights and tea lights to avoid visible cords.
- Anchor the scene with something larger — a crate, a cloche, or a full garland — so it feels intentional.
Frequently Asked Questions
How do I make my Christmas village look fuller without buying more houses?
Layering is everything. Start with a snowy base, add a garland backdrop, and fill the spaces between houses with bottle-brush trees of different sizes, small figurines, and twinkle lights. Raising some houses on hidden books or bowls adds dimension, and a lit-under-snow fairy light strand makes even a small village glow like a full town.
What is the best way to light a Christmas village safely?
Use battery-operated warm-white fairy lights and LED tea lights rather than plug-in cords or real candles. Tuck micro light strands under the snow blanket for ambient glow, and place a tea light inside each house with window cutouts. Timer batteries are a bonus — set them for the evening hours and the village lights itself every day.
Final Thoughts
A Christmas village is one of those decorations that grows more precious every single year — each house carries a memory, and the whole scene becomes part of your family’s holiday tradition. Whether you build a grand mantel town or a tiny tiered-tray hamlet, the formula is the same: soft snow, warm light, a few trees, and a little patience with the layering. Light it up tonight, dim the lamps, and let your storybook town do the rest.
Start small this year if you need to, and add one special piece each season. Before long you will have a village that tells your family’s story in miniature — and a mantel your kids will remember forever.
Follow homedecorheaven.com for more home inspiration ideas, one small change at a time.
Love the soft glow of a storybook scene? Pair your village with these velvet bow Christmas decor ideas for a classic mantel finish, or go bolder with jewel tone Christmas decor ideas for a rich, jewel-lit holiday look.