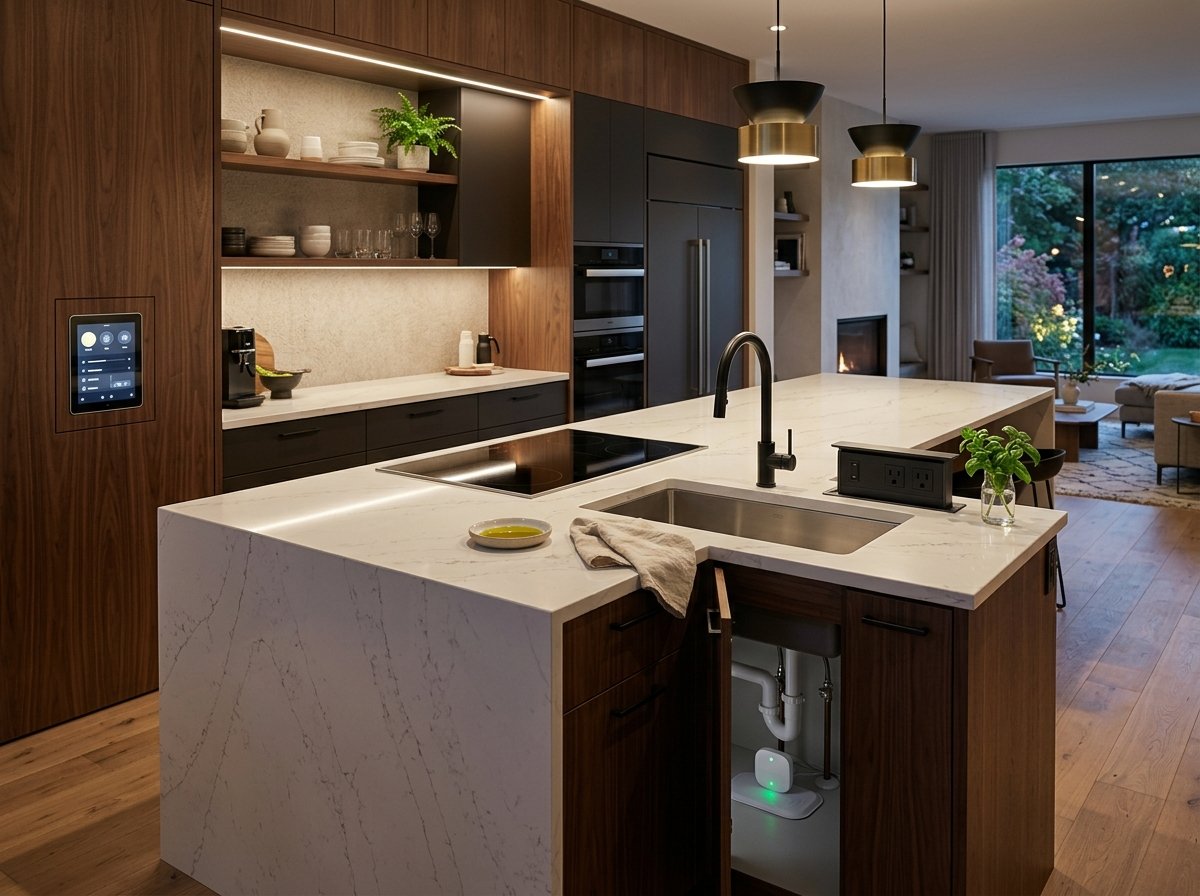
Kitchen Island Ideas With Stove and Sink: How Can You Design an Island That Looks Beautiful and Works Better?
What Makes Kitchen Islands With a Stove and Sink So Useful?
A kitchen island with both a stove and sink can turn a large kitchen into a highly functional cooking zone.
Instead of walking back and forth between the countertop, cooktop, sink, and refrigerator, you can bring several important tasks into one central area.
A well-planned island might include:
- A cooktop or range
- A main or prep sink
- Dishwasher
- Deep drawers
- Pull-out trash and recycling
- Countertop prep space
- Seating
- Electrical outlets
- Task lighting
- Smart controls
- Hidden storage
The key phrase is well-planned.
An island with every possible feature can quickly become crowded. You need enough countertop space around the appliances to actually use them comfortably.
The National Kitchen & Bath Association (NKBA) treats clearance, appliance placement, landing areas, lighting, electrical planning, ventilation, and systems coordination as important parts of kitchen planning.
So the goal isn’t simply to create a big island.
It’s to create a working island.
Should You Put Both a Stove and Sink in a Kitchen Island?
It depends on the size and layout of your kitchen.
For a large open-plan kitchen, putting both appliances on the island can make sense.
For a smaller kitchen, it can make the island feel cramped.
When Does It Work Well?
A stove-and-sink island is especially useful when:
- The main kitchen wall already has tall cabinets.
- You want an open view toward the living room.
- You frequently cook while talking with family.
- You need more preparation space.
- You want the dishwasher close to the sink.
- You have enough room for safe walkways.
- Plumbing and electrical work can reach the island.
When Should You Avoid It?
Consider leaving one appliance off the island if:
- The island is narrow.
- There isn’t enough space behind the cooktop.
- Seating would sit too close to the cooking surface.
- Adding plumbing would be unusually expensive.
- A range hood would be difficult to install.
- Your kitchen has heavy traffic through the island.
Sometimes a simple island with a prep sink is better than trying to fit everything into one cabinet run.
What Is the Best Layout for a Kitchen Island With Stove and Sink?
There isn’t one universal layout.
The best arrangement depends on how your kitchen connects to the refrigerator, pantry, dishwasher, dining area, and living space.
Layout 1: Sink and Cooktop in One Straight Line
This is one of the simplest arrangements.
Sink → Prep Counter → Cooktop → Landing Counter
The prep space between the sink and cooktop becomes particularly useful.
You can wash vegetables, move them onto the prep surface, and then transfer them to the cooking area.
Layout 2: Sink at One End, Cooktop in the Center
This arrangement gives the cooktop a visual focal point.
You can place the sink toward one side of the island and leave a larger work surface between the two.
It also makes it easier to keep seating away from the cooking zone.
Layout 3: Cooktop in the Center With Sink Nearby
This works well for people who spend a lot of time cooking.
The sink can sit close enough for quick rinsing while the center cooktop becomes the main cooking station.
Layout 4: Sink on Island, Stove on Perimeter Wall
Don’t assume both appliances have to go on the island.
A very practical alternative is:
Island: sink + dishwasher + prep area
Wall: range + oven + hood
This can simplify ventilation and give the island more countertop space.
Layout 5: Large Island With Two Zones
In a big kitchen, divide the island into a cooking side and a cleanup/prep side.
This creates clearer zones instead of treating the entire countertop as one workspace.
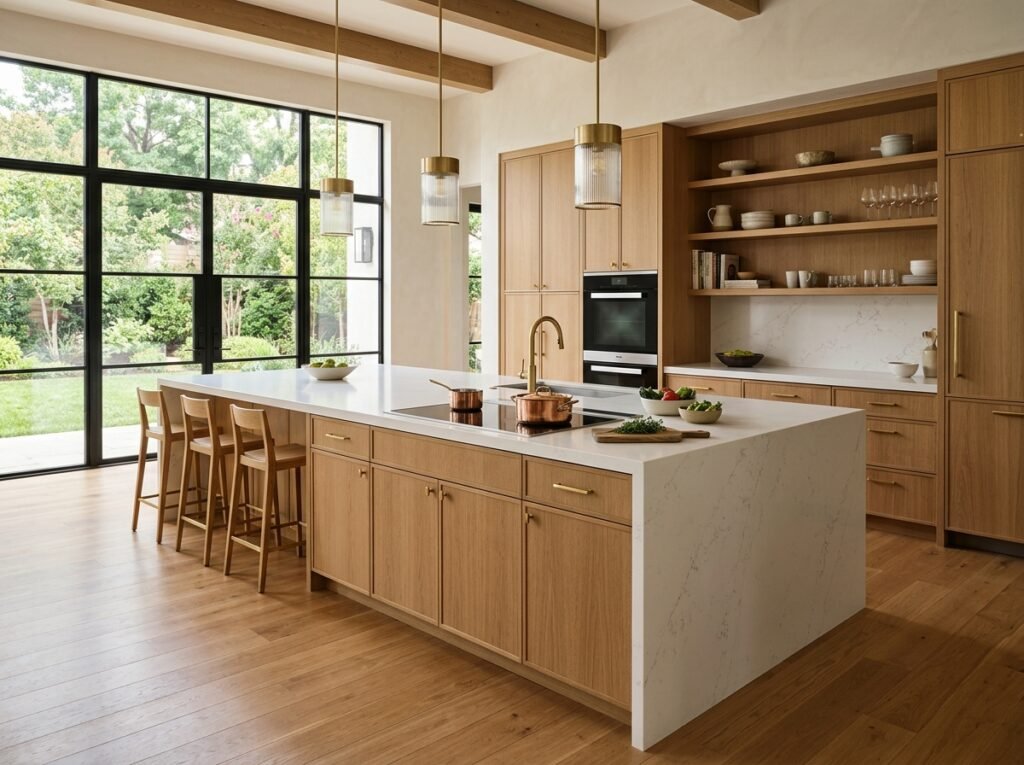
How Much Space Do You Need Around a Kitchen Island?
This is one of the most important parts of the design.
A beautiful island can become frustrating if you can’t comfortably walk around it.
NKBA-based planning references commonly recommend a 36-inch walkway and at least a 42-inch work aisle for one cook, increasing to about 48 inches for multiple cooks.
These are planning guidelines, not a universal substitute for local building codes or appliance instructions.
Why Does Clearance Matter?
Imagine opening the dishwasher while someone stands at the cooktop.
If the aisle is too narrow, you’re constantly bumping into each other.
Or imagine opening a refrigerator door while someone is seated at the island.
Good design prevents these conflicts before construction begins.
What About Island Seating?
Seating needs its own clearance.
A commonly cited NKBA planning recommendation allows about 36 inches behind seating where people need to edge past, and about 44 inches where people need to walk past comfortably.
Always check your local requirements and the exact dimensions of your cabinets and appliances.
Don’t Measure Just the Cabinet
Remember that the final island footprint includes:
- Cabinet boxes
- Countertop overhang
- Appliance doors
- Seating overhang
- Handles
- Walkways
- Traffic paths
A drawing that looks spacious on paper can feel very different once everything is installed.
What Are the Best Kitchen Island Ideas With a Stove and Sink?
Here are some practical design directions worth considering.
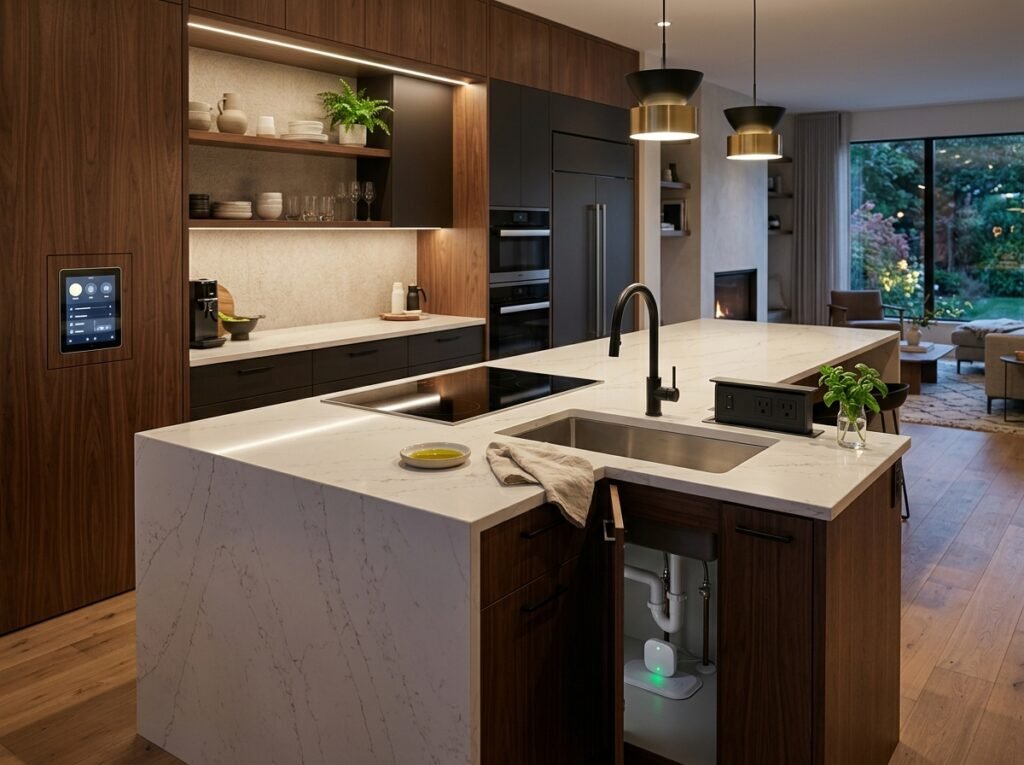
1. Waterfall Island With Induction Cooktop
A waterfall countertop creates a clean, modern appearance as the stone continues down the sides.
Pair it with an induction cooktop for a minimalist cooking surface.
This works particularly well in contemporary kitchens.
2. Large White Island With Black Fixtures
Use a white quartz countertop with dark hardware and fixtures.
The contrast creates a crisp, modern look without requiring a complicated color scheme.
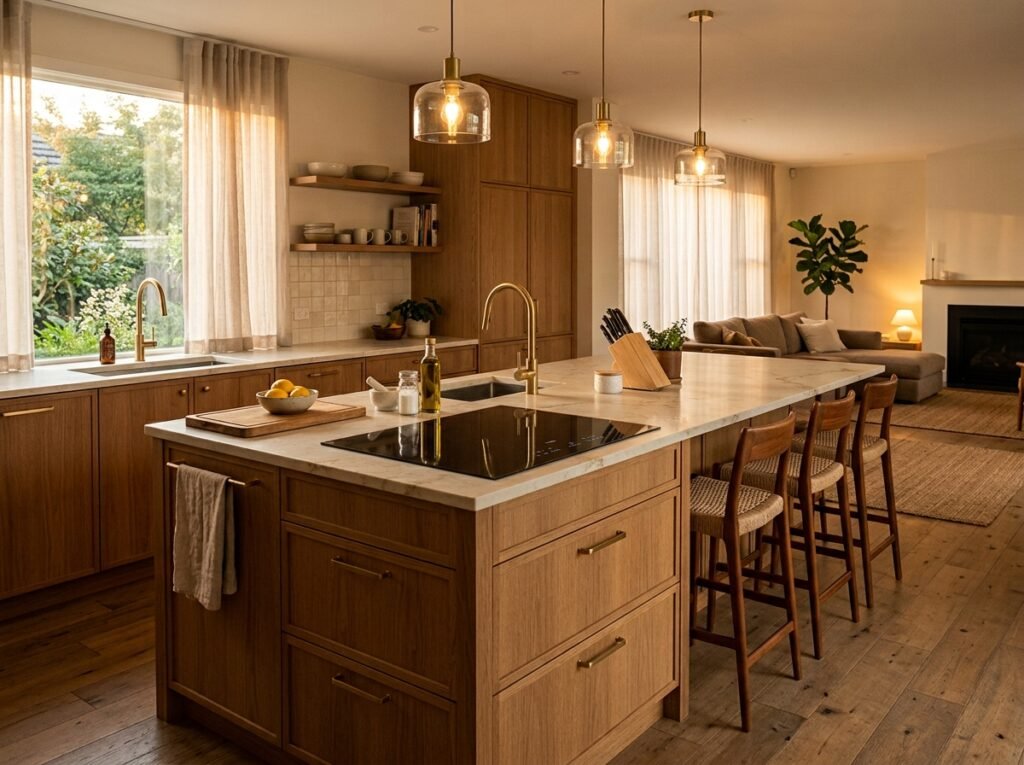
3. Wood Island With Stone Countertop
Warm wood cabinetry can soften a large kitchen.
Pair it with a durable stone countertop and stainless or matte fixtures.
This works beautifully in transitional kitchens.
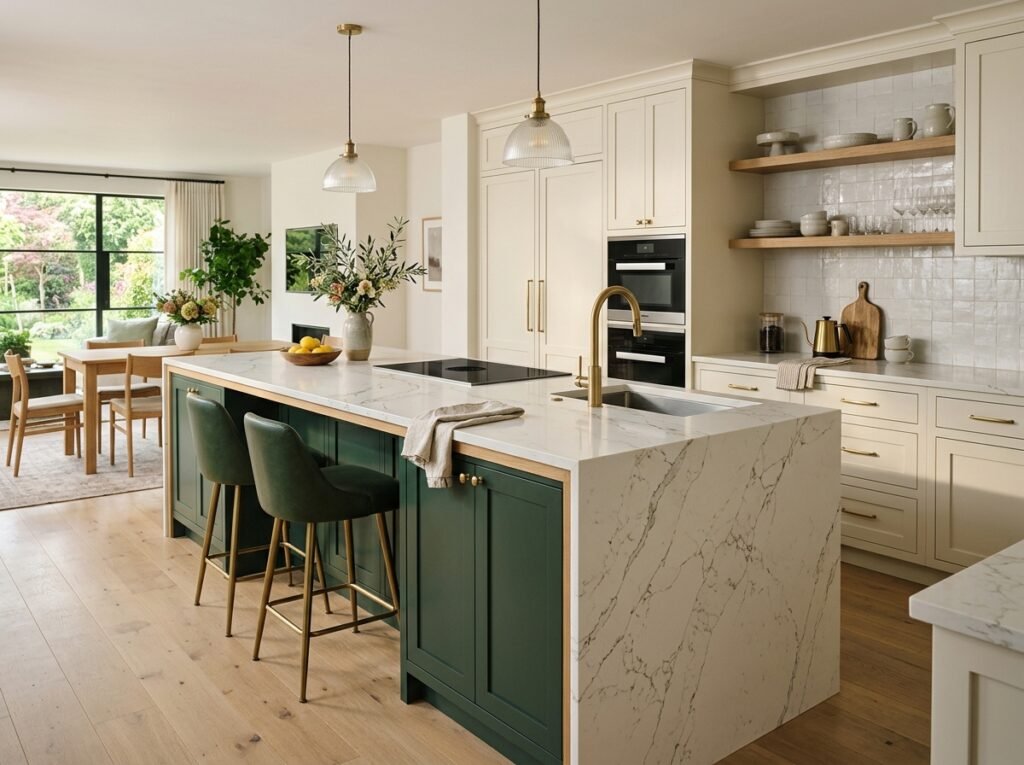
4. Two-Tone Kitchen Island
Use one color for perimeter cabinets and another for the island.
For example:
Perimeter: warm white
Island: deep green
The island becomes the visual anchor.
5. Hidden Sink Design
A sleek undermount sink can visually disappear into the countertop.
This creates a cleaner appearance than a large exposed sink.
6. Prep Sink + Main Cooktop Island
If your kitchen already has a main cleanup sink, consider making the island a dedicated prep station.
This can reduce the amount of plumbing required while still improving workflow.
7. Oversized Island With Seating
In a large kitchen, extend the countertop on one side for seating.
Just make sure the seating doesn’t interfere with the cooking area.
8. Island With Integrated Dishwasher
Placing the dishwasher near the sink can make cleanup easier.
You can scrape, rinse, and load dishes with fewer steps.
9. Island With Deep Drawers
Use wide drawers for:
- Pots
- Pans
- Cutting boards
- Mixing bowls
- Cooking utensils
Deep drawers are often easier to access than low cabinets.
10. Minimalist Handleless Island
Handleless cabinetry creates a clean contemporary appearance.
This works particularly well with slab doors and simple stone countertops.
How Should You Position the Stove and Sink?
Think about workflow, not symmetry.
The most important question is:
What do you do between the refrigerator, sink, preparation area, and stove?
A typical cooking sequence might look like:
Refrigerator → Sink → Prep Area → Cooktop
You remove ingredients from the refrigerator, wash them, prepare them, and cook.
That means the prep counter between the sink and cooktop can become extremely valuable.
For a cooking surface, NKBA-based guidance commonly calls for landing areas on both sides—around 12 inches on one side and 15 inches on the other—and recommends countertop extension behind an island cooktop for safety.
Exact requirements depend on the appliance and local code.
Keep the Sink Useful
A sink shouldn’t be squeezed into a tiny leftover corner.
NKBA-based planning guidance commonly recommends meaningful landing space beside the primary sink, including roughly 24 inches on one side and 18 inches on the other.
Again, appliance specifications and local requirements take priority.
What Sink Works Best in a Kitchen Island?
Undermount Sink
This is a popular choice for modern kitchens.
The sink sits beneath the countertop, creating a clean transition.
It also makes wiping crumbs into the sink easier.
Single-Bowl Sink
A deep single bowl can handle:
- Large pots
- Baking trays
- Cutting boards
- Oversized cookware
It is especially useful if the island sink is your main cleanup sink.
Double-Bowl Sink
A double-bowl configuration gives you separate areas for washing and rinsing.
Some homeowners still prefer this familiar setup.
Prep Sink
A smaller prep sink can be enough if your main cleanup sink is elsewhere.
It works particularly well on large islands where the goal is quick food preparation.
Sink With Integrated Accessories
Consider accessories such as:
- Cutting boards
- Colanders
- Drying racks
- Sliding grids
These can make a sink workstation more versatile without adding much countertop clutter.
Should You Choose a Gas, Electric, or Induction Cooktop?
Your cooktop choice changes the island design.
Gas Cooktop
Gas provides a familiar cooking experience and visible flame.
But it requires careful planning for gas supply, ventilation, clearances, and local code.
Electric Cooktop
Electric cooktops can create a clean appearance and may be easier to integrate where electrical service is already available.
Induction Cooktop
Induction is popular in modern kitchens because it offers a sleek surface and fast, precise heating.
It also eliminates an open flame.
However, you need to confirm that your home’s electrical service can support the appliance.
Which One Is Best?
There is no universal winner.
Choose based on:
- Cooking habits
- Existing utilities
- Electrical capacity
- Ventilation
- Appliance specifications
- Budget
- Cleaning preferences
- Local requirements
Don’t choose the cooktop first and figure out infrastructure later.
That can become an expensive mistake.
How Do You Vent a Stove Installed in an Island?
Ventilation deserves extra attention when the cooktop sits in the middle of the room.
A wall-mounted range hood is straightforward because the hood can usually connect directly to a wall or ceiling duct path.
An island cooktop may require:
- Ceiling-mounted hood
- Downdraft ventilation
- Recirculating hood, where permitted
- Dedicated ductwork
- Structural planning
The correct solution depends on the appliance, house construction, and local code.
For example, New York’s current mechanical code contains specific requirements governing domestic cooking exhaust and ducted exhaust systems.
So don’t treat ventilation as an afterthought.
Should You Use a Ceiling Hood?
A ceiling-mounted hood can become a strong visual feature.
Choose one that is appropriately sized for the cooktop and installed according to the manufacturer’s instructions.
What About Downdraft?
Downdraft systems can preserve a cleaner sightline.
They can be useful when homeowners don’t want a large hood hanging above the island.
But performance varies by appliance and installation.
Talk to the appliance manufacturer and a qualified kitchen professional before designing the cabinetry around a downdraft system.
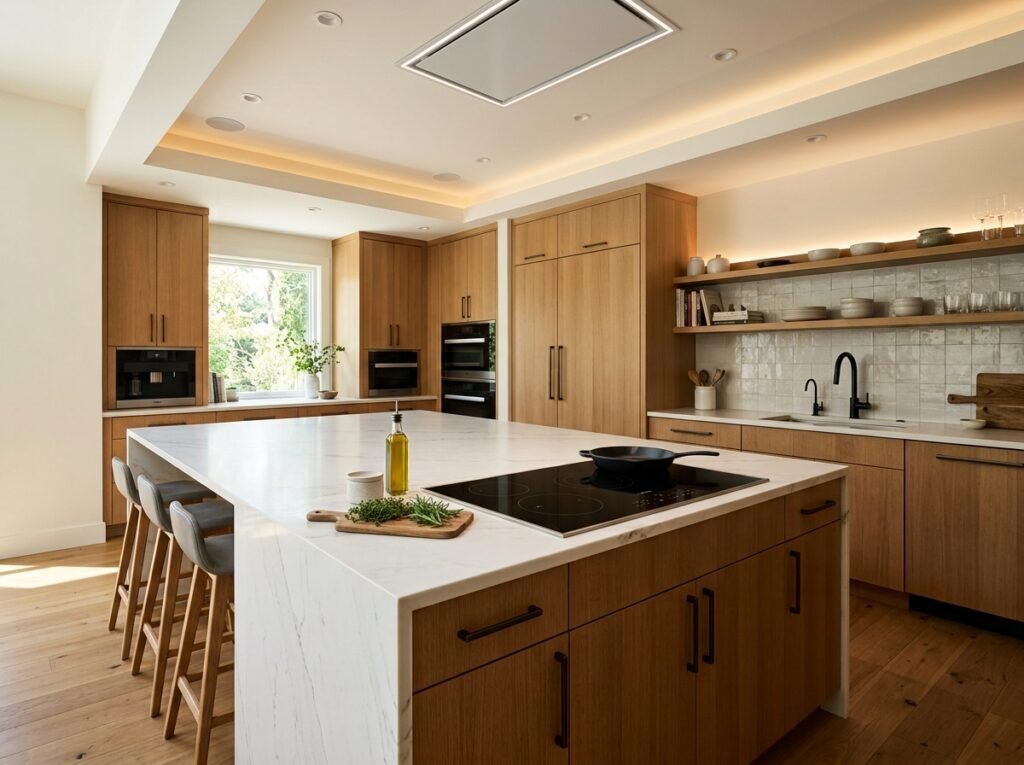
How Can You Add Seating Without Losing Workspace?
Island seating is one of the biggest reasons people love large kitchen islands.
But seating should not compete with your cooking zone.
Put Seating Opposite the Sink
This can work well when the seating faces the living area.
You can cook while talking with family.
Keep Seating Away From the Cooktop
Avoid placing stools immediately beside an active cooking surface if the layout creates a safety or traffic problem.
Use a Raised Bar
A raised counter can separate dining from food preparation visually.
It may also help hide countertop clutter.
Use a Single-Side Overhang
A simple overhang gives you seating without dramatically increasing the island footprint.
For planning purposes, NKBA-based recommendations vary the required overhang by counter height, so the final design should account for stool height and knee space.
What Storage Ideas Work Best for an Island With a Sink and Stove?
The island can provide a surprising amount of storage.
Under-Cooktop Drawers
Use drawers for:
- Pots
- Pans
- Lids
- Spatulas
- Cooking utensils
Under-Sink Storage
Reserve this area for:
- Cleaning products
- Trash bags
- Sponges
- Dishwasher supplies
Use appropriate organizers to prevent the cabinet from becoming a dark storage pit.
Pull-Out Trash
A pull-out waste and recycling center near the prep zone can make cooking much easier.
You can scrape food directly into the bin.
Narrow Drawers
Small drawers are useful for:
- Measuring spoons
- Knives
- Foil
- Parchment paper
- Kitchen towels
Appliance Garage
If your island is deep enough, you can hide small appliances behind a lift-up or suitable cabinet door.
Be careful about electrical loads and ventilation requirements for appliances stored inside cabinetry.
How Can Lighting Improve an Island Kitchen?
Island lighting should look good, but it also needs to help you see what you’re doing.
NKBA’s current planning material explicitly includes lighting planning and controls alongside electrical and smart-home integration.
Pendant Lights
Three pendants can look beautiful over a long island.
Two larger fixtures can work better on a shorter island.
Recessed Lighting
Recessed lights can provide general illumination.
Under-Cabinet Lighting
If the perimeter kitchen has wall cabinets, under-cabinet lighting helps illuminate preparation areas.
Layer Your Lighting
A strong kitchen lighting plan might combine:
- Ambient lighting
- Task lighting
- Pendant lighting
- Under-cabinet lighting
- Accent lighting
Don’t rely on decorative pendants alone.
Can Smart Technology Work With a Kitchen Island?
Absolutely.
The key is to make smart technology useful rather than gimmicky.
Smart Lighting
Connect island pendants and ambient lights to a smart lighting system.
You could have:
Cooking mode: bright task lighting
Dinner mode: warm, softer lighting
Cleaning mode: brighter whole-kitchen lighting
Night mode: low-level pathway lighting
Smart Appliances
Depending on the appliance, connected features may let you:
- Monitor cooking
- Receive alerts
- Adjust settings
- Check appliance status
Always follow the manufacturer’s safety instructions and don’t rely on an app as a substitute for being present while cooking.
Smart Leak Detection
A water sensor beneath the sink can provide an early warning if a supply line or plumbing connection develops a leak.
This is especially useful in a kitchen island because plumbing is hidden inside cabinetry.
Smart Water Shutoff
Some homes use whole-home leak detection and automatic water shutoff systems.
If you install one, have the plumbing configuration professionally evaluated.
Smart Smoke and Air Monitoring
Connected smoke alarms and indoor air-quality sensors can add another layer of awareness.
Again, smart technology should complement—not replace—proper safety equipment and local requirements.
Plan the Technology Before Building
This is important.
If you want:
- USB-C charging
- Pop-up outlets
- Smart switches
- Appliance connections
- Under-counter lighting
- Leak sensors
Plan them before the countertop is ordered.
The NKBA’s updated planning guidance specifically includes power outlets at kitchen islands, smart-home integration, lighting controls, ventilation, and building-system coordination.
What Materials and Colors Look Best?
The island often becomes the visual centerpiece of the kitchen.
White Quartz
Clean, bright, and easy to pair with different cabinet colors.
Natural Stone
Marble, quartzite, and granite can create a high-end appearance.
Each material has different maintenance requirements.
Wood
Wood adds warmth.
A walnut island can make a white kitchen feel less sterile.
Dark Cabinets
Deep green, navy, charcoal, and black can create dramatic contrast.
Two-Tone Design
Try:
White perimeter + walnut island
or
Warm beige perimeter + deep green island
This gives the room more depth without adding too many colors.
What Are the Pros and Cons of a Stove-and-Sink Island?
Before committing to the design, look at both sides.
Pros
Better workflow
Cooking, washing, and preparation can happen in one central zone.
Social layout
You can face family or guests while cooking.
More storage
The island creates additional cabinet space.
Large preparation surface
A deep island can provide excellent workspace.
Open-plan appeal
The island becomes a natural transition between kitchen and living space.
Cons
More complicated installation
Plumbing and electrical work must reach the island.
Ventilation can be challenging
Island cooktops require careful hood or downdraft planning.
Countertop space can disappear quickly
A sink and cooktop take up valuable work surface.
More expensive
Appliances, utilities, cabinetry, ventilation, electrical work, and countertops all add cost.
Cleaning is more visible
A sink full of dishes sits in the middle of the kitchen instead of against a wall.
That last point is easy to overlook.
If you love a perfectly clean kitchen, an island sink may bother you more than expected.
How Much Does a Kitchen Island With Stove and Sink Cost?
There is no single reliable price because the island can range from a relatively simple cabinet installation to a major kitchen renovation.
Your cost depends on:
- Island size
- Cabinet quality
- Countertop material
- Sink
- Faucet
- Cooktop
- Oven
- Ventilation
- Plumbing
- Electrical work
- Gas line
- Flooring changes
- Structural work
- Lighting
- Smart-home equipment
- Labor
A remodel that only changes cabinetry is very different from moving plumbing, adding a new electrical circuit, installing ductwork, and changing the floor.
How Can You Control the Budget?
Decide which features matter most.
For example:
Must-have: large prep surface, sink, storage
Nice-to-have: smart faucet
Luxury: waterfall quartzite countertop
Optional: motorized outlets
This prevents the project from turning into a long list of expensive extras.
What Mistakes Should You Avoid?
Mistake 1: Making the Island Too Large
Bigger isn’t automatically better.
An oversized island can create awkward dead zones and difficult cleaning areas. Recent designer commentary also highlights that large islands without clearly defined work zones can hurt kitchen efficiency.
Mistake 2: Forgetting Landing Space
You need somewhere to place hot pans, ingredients, dishes, and small appliances.
Mistake 3: Ignoring Ventilation
Don’t purchase the cooktop first and worry about the hood later.
Mistake 4: Putting the Sink Too Close to the Cooktop
Give each appliance its own useful workspace.
Mistake 5: Installing Seating Through the Cooking Zone
People shouldn’t have to cross your cooking area every time they want to sit down.
Mistake 6: Forgetting Dishwasher Placement
If the sink and dishwasher are far apart, loading dishes becomes unnecessarily awkward.
Mistake 7: Ignoring Door Conflicts
Check refrigerator doors, dishwasher doors, cabinet doors, oven doors, and traffic paths together.
Mistake 8: Treating Outlets as an Afterthought
Electrical planning should happen before the countertop and cabinets are finalized.
Mistake 9: Choosing a Countertop Only for Looks
Consider heat, stains, maintenance, seams, edge profiles, and daily use.
Mistake 10: Forgetting the View
An island cooktop can look beautiful, but the hood may become a major visual element.
Consider what you will see from the living room before committing.
How Do You Plan a Kitchen Island With Stove and Sink Step by Step?
If you’re starting from scratch, use this order.
Step 1: Measure the Kitchen
Record:
- Room dimensions
- Doorways
- Windows
- Existing cabinets
- Plumbing
- Electrical locations
- Ceiling height
Step 2: Identify Traffic Paths
Mark where people naturally walk.
Don’t put the island directly in a major traffic path.
Step 3: Establish Work Zones
Define:
- Refrigerator zone
- Cleanup zone
- Prep zone
- Cooking zone
- Serving zone
Step 4: Choose the Island Size
Only make it as large as the room can comfortably handle.
Step 5: Position the Sink
Think about cleanup, dishwasher placement, and preparation.
Step 6: Position the Cooktop
Provide appropriate landing areas and follow the manufacturer’s clearance requirements.
Step 7: Plan Ventilation
Determine whether you’ll use:
- Overhead hood
- Downdraft
- Another approved ventilation solution
Step 8: Add Storage
Assign each cabinet a purpose before ordering cabinetry.
Step 9: Plan Electrical
Add required receptacles and any desired smart-home connections.
Step 10: Choose Finishes
Only after the layout works should you finalize:
- Countertop
- Cabinets
- Hardware
- Lighting
- Backsplash
- Fixtures
Step 11: Review the Entire Kitchen
Walk through the design mentally.
Pretend you’re:
- Making breakfast
- Loading the dishwasher
- Carrying groceries
- Cooking dinner
- Serving guests
- Cleaning up
If the layout still feels natural, you’re on the right track.
Frequently Asked Questions
Is it a good idea to put a sink and stove on the same kitchen island?
It can be, provided the island is large enough to give each appliance useful landing and preparation space. A smaller island may work better with only one appliance.
Where should the sink go on a kitchen island?
Place it where it supports your cleanup and preparation workflow. If it is your primary sink, consider its relationship to the dishwasher, refrigerator, and cooktop.
Where should the stove go on an island?
A cooktop generally works best with adequate landing space on both sides and appropriate clearance behind it. Follow appliance instructions and local codes.
How wide should a kitchen island walkway be?
A commonly cited planning guideline is at least 36 inches for a walkway, while work aisles are often planned at about 42 inches for one cook and 48 inches for multiple cooks.
Can you put a gas stove on a kitchen island?
Yes, but gas supply, ventilation, clearances, appliance specifications, and local code all need to be addressed.
Is induction better for a kitchen island?
Induction can be an excellent choice for an island because it offers a clean, flat cooking surface. Whether it’s best depends on your cooking style and home’s electrical capacity.
Does an island stove need a range hood?
Ventilation requirements depend on the appliance, local code, and installation. An island cooktop should never be designed without resolving ventilation early in the planning process.
Is a sink in the island a good idea?
Yes, especially when the island serves as the main preparation and cleanup zone. However, some homeowners dislike seeing dirty dishes in the center of an open kitchen.
How much countertop space should be around a kitchen sink?
NKBA-based planning guidance commonly calls for meaningful landing areas beside a primary sink, including approximately 24 inches on one side and 18 inches on the other.
Can a dishwasher go in the island?
Yes. Placing it close to the sink can make loading and unloading more efficient.
Can you add smart technology to a kitchen island?
Yes. Smart lighting, leak sensors, connected appliances, charging outlets, and home-automation controls can all be integrated when planned during the design stage.
What is the biggest kitchen island mistake?
Making the island too large without considering clearance, workflow, ventilation, seating, appliance doors, and traffic.
Conclusion
The best kitchen island ideas with stove and sink balance three things: workflow, safety, and style.
A beautiful countertop won’t fix a poorly planned kitchen. Before choosing cabinet colors or expensive stone, work out the practical details: appliance placement, landing areas, aisle widths, seating, storage, plumbing, electrical service, and ventilation.
For a large kitchen, a central island with a cooktop and sink can become the heart of the home. For a smaller space, you may get better results by putting the sink on the island and keeping the range against the wall.
And don’t forget the details that aren’t obvious in a finished photograph. Dishwasher placement, trash storage, task lighting, smart controls, leak detection, and accessible outlets can make the difference between an island that simply looks impressive and one that makes everyday cooking genuinely easier.
Plan the workflow first. Choose the finishes second.
That approach will give you a kitchen island that still feels good to use long after the renovation photos stop looking new.